
As some of you are aware, my daughter, Becky, loves to bake (feel free to check out Bites by Becky on Facebook). So, as a birthday present my parents got her a baking class (I got the same for Mother’s Day) and Becky chose Macaron baking (you can read about that here, Macaron 101. The problem with taking a class like that though is if you don’t use the knowledge soon after, it’s lost. And to bake Macarons, you definitely need that knowledge.
So yesterday afternoon we cleared the decks, banned Sammi and Chris from the kitchen, and tried to make macarons solo. You might think we made a big deal out of making a simple cookie, but you’d be wrong. And here’s why.
Let’s start with the ingredients. I’m giving everything in weight. If you don’t own a scale and you endeavor to make these cookies, tough on you. Buy a scale. ‘Nuff said.
Ingredients
- 165 grams almond flour
- 165 grams confectioners’ sugar
- 1 pinch fine sea salt
- 150 grams granulated sugar
- 85 grams water (yes, weigh even the water)
- 115 grams whisked egg whites
- 1/2t cream of tartar
- food coloring (about 4 drops gel), if desired
Directions
To start, know there are two different methodologies for making the meringue, French and Italian. we did the Italian. Also know that we preheated our oven to 200℉ because before you actually bake the cookies, you want a skin on them. Some chefs leave the piped cookies out to form this skin (even overnight), others, like our instructor, Kathryn pre-bake the cookies at the lowest temperature in the oven. More on this later.
1. Put the almond flour, confection sugar and salt into food processor. Pulse four times for four seconds each, with about 10 seconds between each pulse (otherwise you risk creating butter instead of a really fine flour base). Then sift these ingredients so you get a smooth skin later on.

The simple syrup cooking – see the dead zone?
2. Put the egg whites and cream of tartar in the bowl of your electric mixer, fitted with a whisk. Begin to whisk the egg whites on medium speed until soft peaks form. Meanwhile, mix the granulated sugar and water in a small pot and heat on a medium-high heat on the stove. You want this to be boiling all across the pan, no dead zones (i.e., no place where bubbles are not rising to the surface). It should be 235℉ or soft-ball stage for those familiar with the term. For us, we would dip a little spatula into the bubbly liquid and drop it on the edge of the stove, if a little ball formed there twice in a row (no spreading), it was ready. Now, while your bubbling away your syrup, if you get to soft peaks on your meringue, turn down the speed to low until the syrup is ready. Don’t stop moving that meringue around.
It’s a lot to keep track of right?
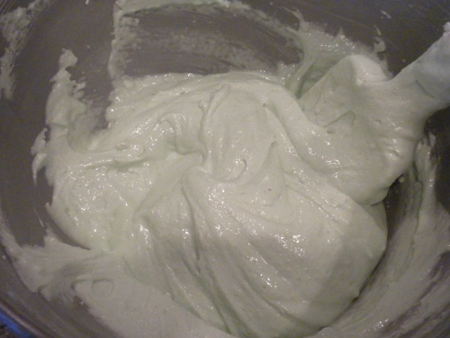
This batter is pretty close
3. Now, take that syrup and quickly and steadily pour it into the meringue with the motor back up to medium. You want to do this along the edge of the bowl (rest the lip of the saucepan on the lip of the bowl), so as you don’t get the syrup all over the whisk. Beat the meringue until it’s medium peak, the bowl is lukewarm (no longer hot from the syrup) and it’s kind of glossy. About 4 minutes.
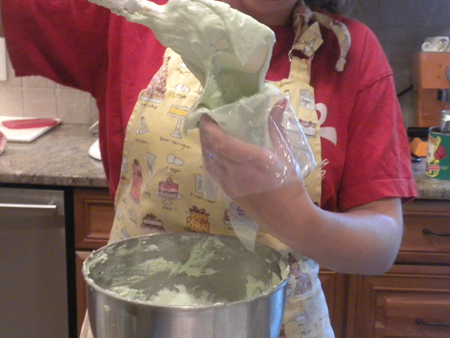
Becky filling the bag – gives you an idea as to the consistency
4. Fold the almond flour blend into the meringue, until it’s incorporated. What does that mean? It means that if you think the ingredients are combined, lift the spatula about 1 inch above the bowl, if the meringue holds its shape, you’re not ready. The mixture should fall back into the bowl in one continuous drip. Oh, and by the way, if you’re using food color, you should add it when you’re about 75% done folding (yeah, good luck with that. We did it when everything looked almost combined). Oh and if you over mix or under mix you can end up with cracked cookies.
5. Spoon the batter halfway into a pastry bag. With those industrial bags at class we used two, with the smaller Wilton bags Becky had on hand, three. Twist the top of the bag to close it (we tied ours off with rubber bands after using a bench scraper to make sure the batter was at the bottom).
6. Now for your baking sheets. At the very least double up. We tried all sorts of combinations, two uncushioned jelly roll pans, two cushioned cookie sheets, two cushioned jelly roll. I think the last batch on Becky’s two cushioned, heavy jelly rolls came out the best. Anyway, stack two together (it disperses the heat, and you may want to use three if you have issues) and line with silpat or parchment.
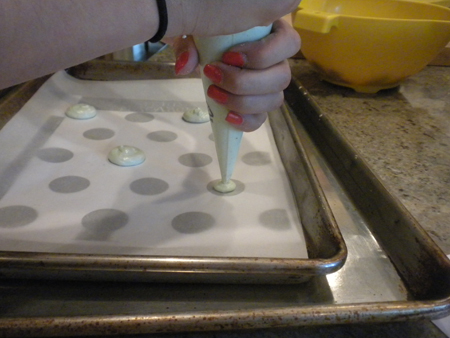
7. Snip the bottom of the pastry bag, leaving a quarter inch opening and pipe the batter into one inch circle rounds about 1.5 inches apart on the sheet. Kathryn has a Piping Guide on her website that you can slide under your sipat or parchment paper to ensure even size cookies.
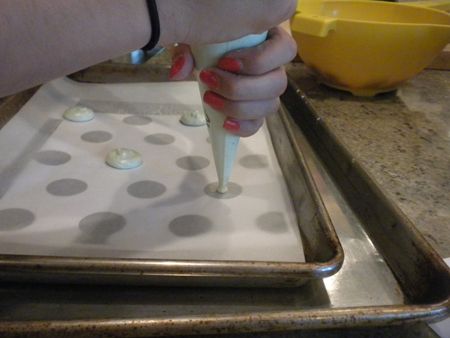
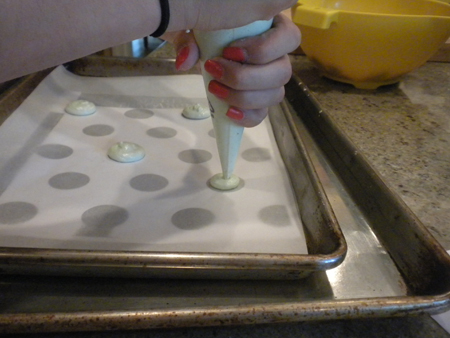
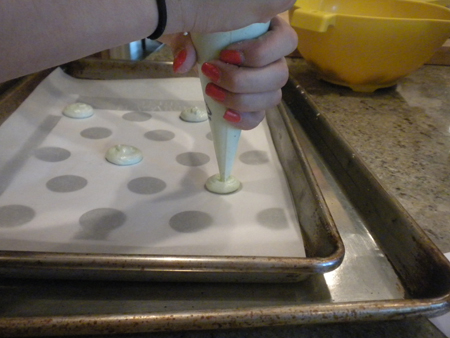
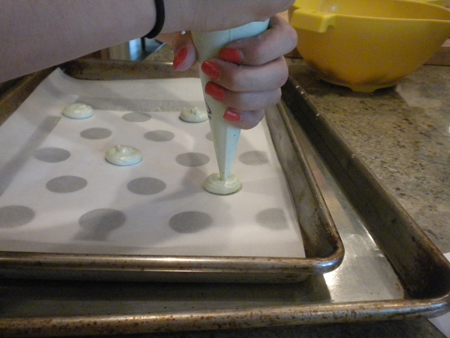
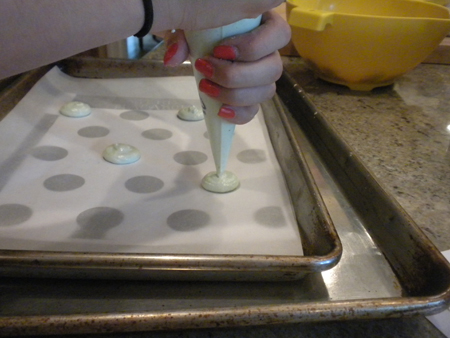
I leave the piping to Becky; she’s the bomb (though sometimes her cookies have “nipples” – that’s when you don’t remove the pressure on the bag before you take it away from the cookie and leave a little bit sticking up).
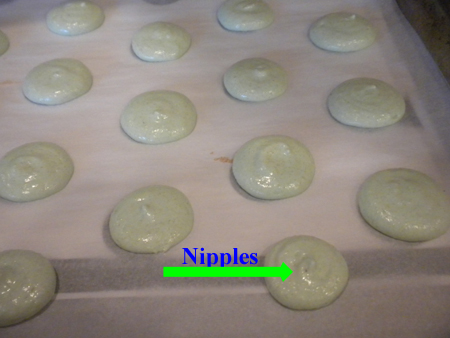
8. Here’s my favorite part, slam the baking sheet down about 10 times from a height of six inches to remove air. Make sure your fingers are holding the silpat/parchment in place as you slam. This gets rid of the air bubbles and kinds of smooths the cookies out a bit (sometimes it gets rid of small nipples).
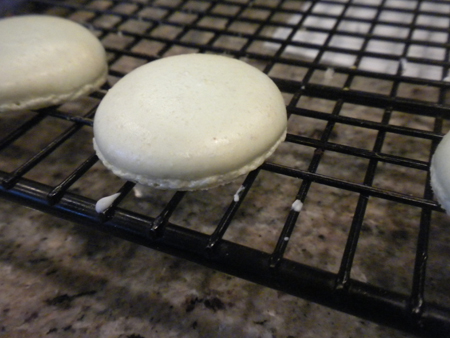
9. Now you bake them – first for 15 minutes at 200 degrees to get the skin and raise the oven temp to 350 (we started at 325 with a hot convection) and bake for an additional 9 minutes or until the macarons just come off the parchment paper when you lift them.
Can you believe it this is where we ran into our problems. You see Kathryn suggested that we do a test batch of four (we did six) to see how our oven runs. The first batch we cooked a bit too long and we thought the temp too high so we lowered it to 300. The second test batch came out well.
Then we started to get lopsided feet (that’s the part that spreads at the bottom of the cookie). We started rotating our trays, adjusting oven temps (was it too hot, too cool?), and this is where we ran into the problem I alluded to earlier with regard to that 200℉. You do a batch, first 200, then 350 (or in our case 300) then you want to put the next tray in and well, you have to wait for the oven to cool back down to 200.
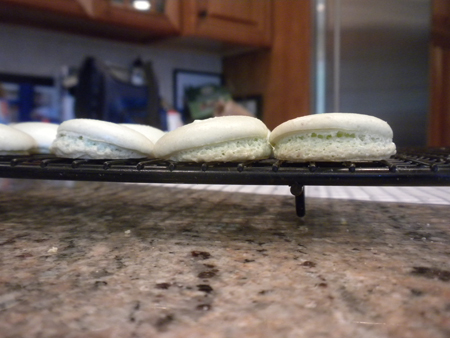
Lopsided Feet
Was that our problem? I just don’t know. In the end though, we switched trays, kept the oven door closed during the skin forming section and stopped rotating and actually got a decent batch of cookies. I’m going to write Kathryn to see if she has suggestions to avoiding the lopsided feet though (I’ll let you know what I hear).
So that’s it – now we had dozens of these little circular cookies. Getting them to look like macarons after all that was easy. Pair your cookies together (no need for match.com here), so you have like sizes wed, pick a filling (there are dozens of possibilities), spread or pipe on to one bottom half of a cookie, place it’s pair on top of the filling (bottom side in), give a little twist and voila!
We had some Becky-made key lime curd in the fridge already, so we used that to make a bunch of these, but there are also some nutella ones floating around, and later I may fill some with this almond spread I have (similar to Nutella but with white chocolate). Don’t be afraid to make your own – we were just beat at this point and went with what was already on hand.
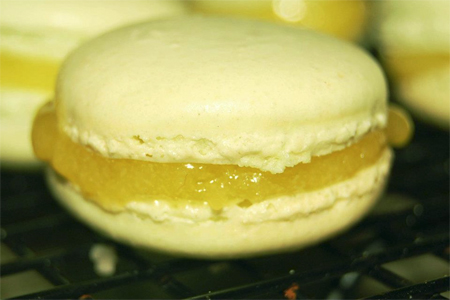
Key Lime Macaron
After filling they’re even better if you let them sit for a day (or two), in tupperware. That way, if your cookies were at all dry, they absorb the moisture from the filling and have a bite on the outside but a softness on the inside. Remember though if you use a curd or cream filling, you need to store them in the fridge.

Kathryn co-authored a book on macaron, Les Petits Macarons: Colorful French Confections to Make at Home, baking that I’ll be purchasing but I think next up will be a solid batch of nutella macarons.
The key to these is infinite patience, a sense of humor and an excellent baking partner (Becky wishes she had one of these ;D).
7 Comments
Comments are closed.
Wow, that looks seriously intense. But what beautiful macarons!
Sorry – I see now that the piped cookie is getting bigger.
Nancy, not duplicated, just a continuous photo capture.
Lisa, points? Really? I have no flipping idea. I guestimate 2 for 3 points.
Fabulous, and fascinating read. Your description of the process has more than convinced me that I will continue to only buy my macarons, from a most excelent bakery here in Pasadena, Europane. But you and Becky rock.
Fabulous, and fascinating read. Your description of the process has more than convinced me that I will continue to only buy my macarons, from a most excelent bakery here in Pasadena, Europane. But you and Becky rock.
I love it! What great instructions and photos.
I think your piping photos are duplicated though. You can delete this part of my comment.
Congrats! You and Becky “done good”!
I’m exhausted reading about the process, but got a chuckle about the nipples. Would love to taste a nutella one. How are the points?