
Well, here it is the first week of our Sunday Slow Scoopers! And unlike our bakers, where I fell by the wayside as the weather warmed, and we migrated to the shore, I figured I could follow through with this one, as moving my ice cream maker was a lot easier than all my baking accessories/ingredients. Hopefully it pans out.
So for the first week, we started with Butterscotch Pecan Ice Cream. The first step in this process I did at home, whilst I had about an hour to kill on Thursday morning before my Weight Watcher meeting (ironic, no?). I melted some the butter, stirred in the nuts and tossed with salt before baking. I let them cool during the day (while we did crazy things, including dealing with car issues and getting my daughters pierced on various parts of their bodies), packed them up and brought them to the beach with me.
On Friday, after everyone cleared out of the kitchen at lunch time, I began making the custard with the help of my trusted assistant, and photographic documentor, Becky.
First we started by getting together some of the basic ingredients.
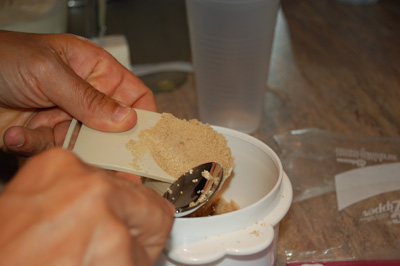
Measuring the Brown Sugar
Note here, I didn’t have dark brown sugar, so we used light. I imagine it won’t affect the taste but the color of the final product.
Next I separated and beat the eggs and set those aside.
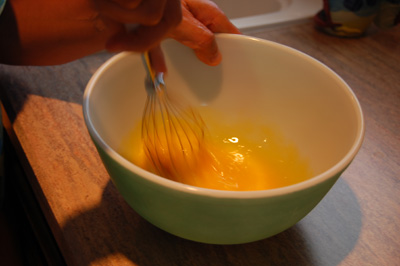
Beating Eggs
At this point, we also set up the ice water bath, using a large pot and a large bowl. Into it we poured the cream and set it aside. I also figured it was a good time to get the scotch and vanilla measured and ready to go.
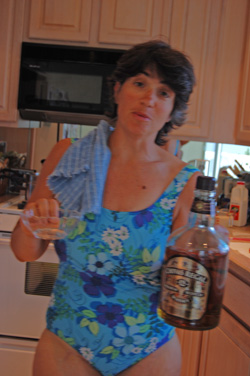
Scotch Anyone?
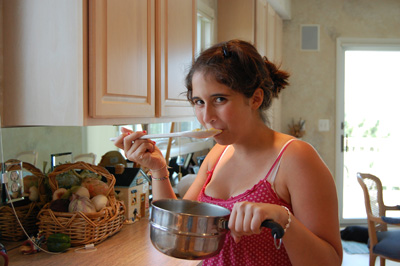
Boy, how many of you made your ice cream whilst wearing a bathing suit? And how many of you would actually have posted it!
Okay – now for the actual cooking to begin. First melting the butter. I used a double boiler, although David indicated it would take longer, my big fear, scrambling the eggs, forced me to take the safer way.
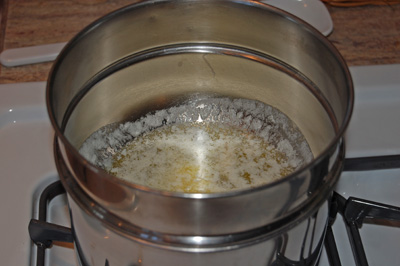
Melted Butter
I’m pretty sure we used salted butter (beggars can’t be choosers on the island).
Next, we added the brown sugar to the butter.
Brown Sugar and Butter
And finally the cream and milk (already pre-measured and sitting next to the stove).
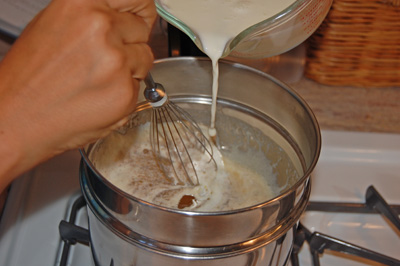
Adding the Cream and Milk
See how light the mixture is. Again, I’d imagine it would be darker if I had used dark brown sugar.
Light mixture – pre-eggs
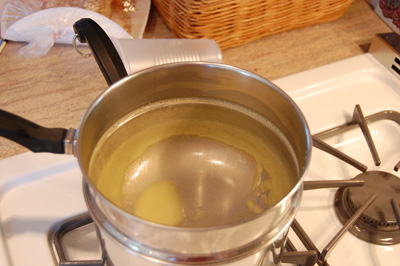
Once it’s warmed enough (and I wasn’t sure exactly what this meant, but when it felt pretty warm to my finger, and started to steam a little I took it off the boiler), you pour the liquid, slowly into the eggs. There’s no photo of this step because we did it as a two-women process. Becky held the bowl while I slowly poured the cream mixture into the eggs and whisked quickly, being ever afraid of scrambling my eggs.
Once that was done, it was time to return the “almost-custard” back to the top of the double boiler.
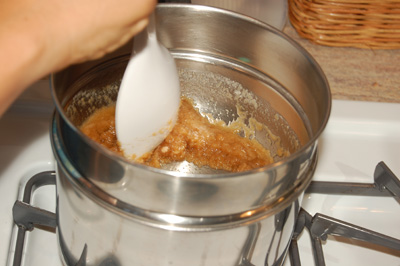
Back to the Pot to Thicken
And you must stir, and stir, hoping and praying you don’t cook your eggs (okay – I admit it; I’ve done this when making custard before).
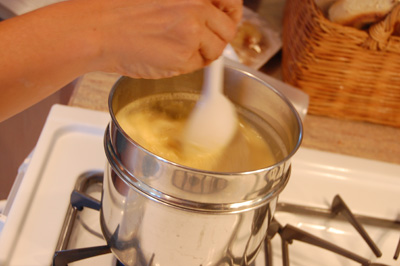
Stir Baby, Stir
Now here’s part of the tricky part – the part that always gets me. You want to cook the almost custard to custard. You want it to coat the back of your spoon such that when you run your finger down it, the two sides do not come back together (and yes, you must lick your finger to test the quality of the custard at this point. It’s an unwritten rule).
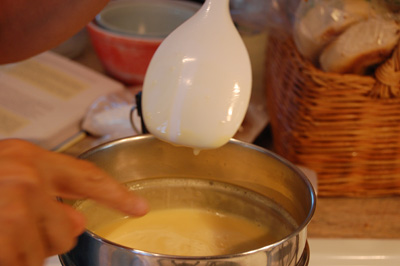
Cooked Enough?
I guess I’m always afraid that I won’t cook it enough, but this time, I’m trusting the spoon, and I removed it when it got to the point above.
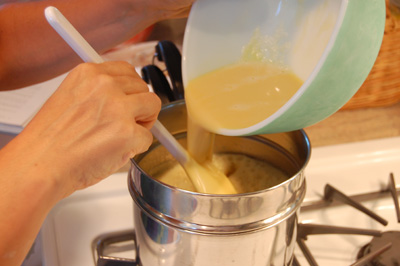
Now take the custard, and pour it through the strainer into the bowl with the one cup of cream that resides in the ice bath. Add the scotch and vanilla (picture not shown).
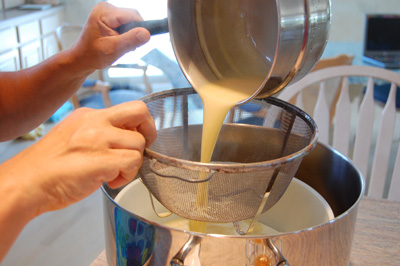
Chill Out
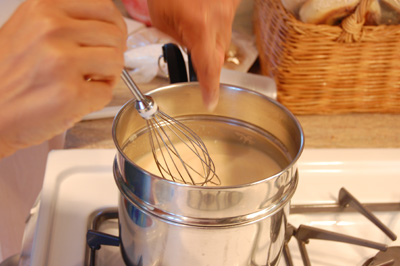
Stir the custard in the bowl, in the ice bath, to aid the cooling process.
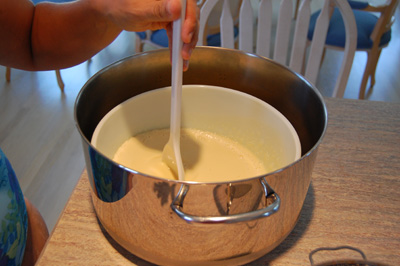
Stir Again
That’s it. Once it has cooled down, you pour it into a container (loosely covered), and let it chill in the refrigerator either for eight hours, or overnight.
A little side note here – Dave stresses using a flat-bottomed spoon when stirring the custard in the double boiler, and using it to scrape the bottom and sides as you cook. Here’s a look at was left in the pot, after I poured the custard into the bowl, in the ice bath.
Leavings
Guess I didn’t do such a good job of scraping the bottom. But there’s something to be said for that because here’s what you can do with them there leavings.
Love the Leavings
That will teach me to schedule publication before I’m done with an entry. Anyway, here are the final pictures. On Saturday, we poured the custard into the frozen ice cream maker canister.
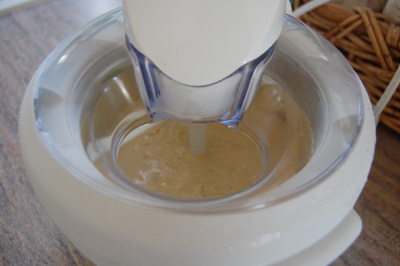
Custard in the Canister
After 20 minutes, you get a nice thick concoction.
After 20 Minutes
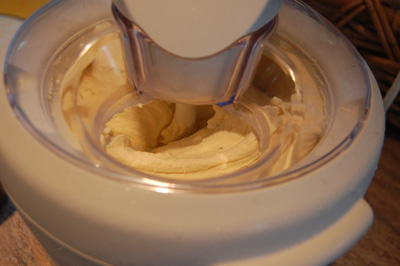
At this point, if you’re going to add the buttered pecans, now’s the time.
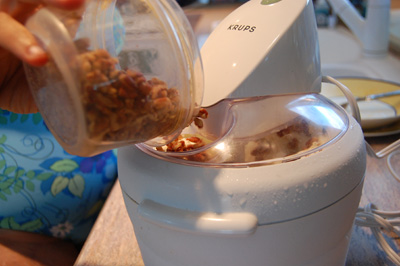
Pour Butter Pecans into Cannister
Finally, you’re done. You have two options – you can scoop it out but it’s going to be a little soft (see below how quickly it melts), or you can stick it in the freezer for a few hours and wait. We couldn’t so each had a bit right away, and then another scoop after dinner last night when it was harder. Either way, you really can’t lose!
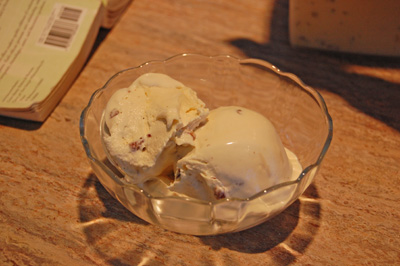
The Finished Product
11 Comments
Comments are closed.
[…] of them. Pour the remaining cream into a large bowl and set a mesh strainer on top (you can see the Butterscotch Pecan Ice Cream for detailed instructions on this entire process). I put the bowl right into the ice bath at this […]
Lisa, home Monday for about 10 days. Monday night – tiramisu ice cream, if you’re interested.
Please come home, and a)work out with me-I miss you! and b)make ice cream here so I can eat it too 🙂
** blush**
Thanks everyone. But after four days of that ice cream in my house, I don’t think I can fit into that suit any more. Better hit the bike again. 🙂
Kim,
You are LOOKIN’ GOOOOOOOD !!!!!
Congrats !!!!!
Kim, love all the step by step photos. I’m so with you on the worrying about making custard. And the bathing suit photo is perfect! Love it… many fun weeks ahead.
Excellent step by step instructions, Kim! It sounds really tasty.
Looks delicious – you’re brave to attempt ice cream at the beach (and in a bathing suit as well!)
Since I’m not a Scooper, I’m living vicariously through all the photos. Enjoyed the step-by-step pictures and notes. Your ice cream looks very decadent! You’re wearing the perfect attire for ice cream making in the summer and you look great! 🙂
Kim~ great job!
That is some bottle of scotch 🙂
Kim-Love all of the photos of your process. I just returned from a vacation of eating and drinking, and haven’t forced myself to the store yet to get the ingredients. I just keep looking at all of the butter in the recipe. So good for you for making your ice cream in a bathing suit and posting the photo. By the way, you look great!